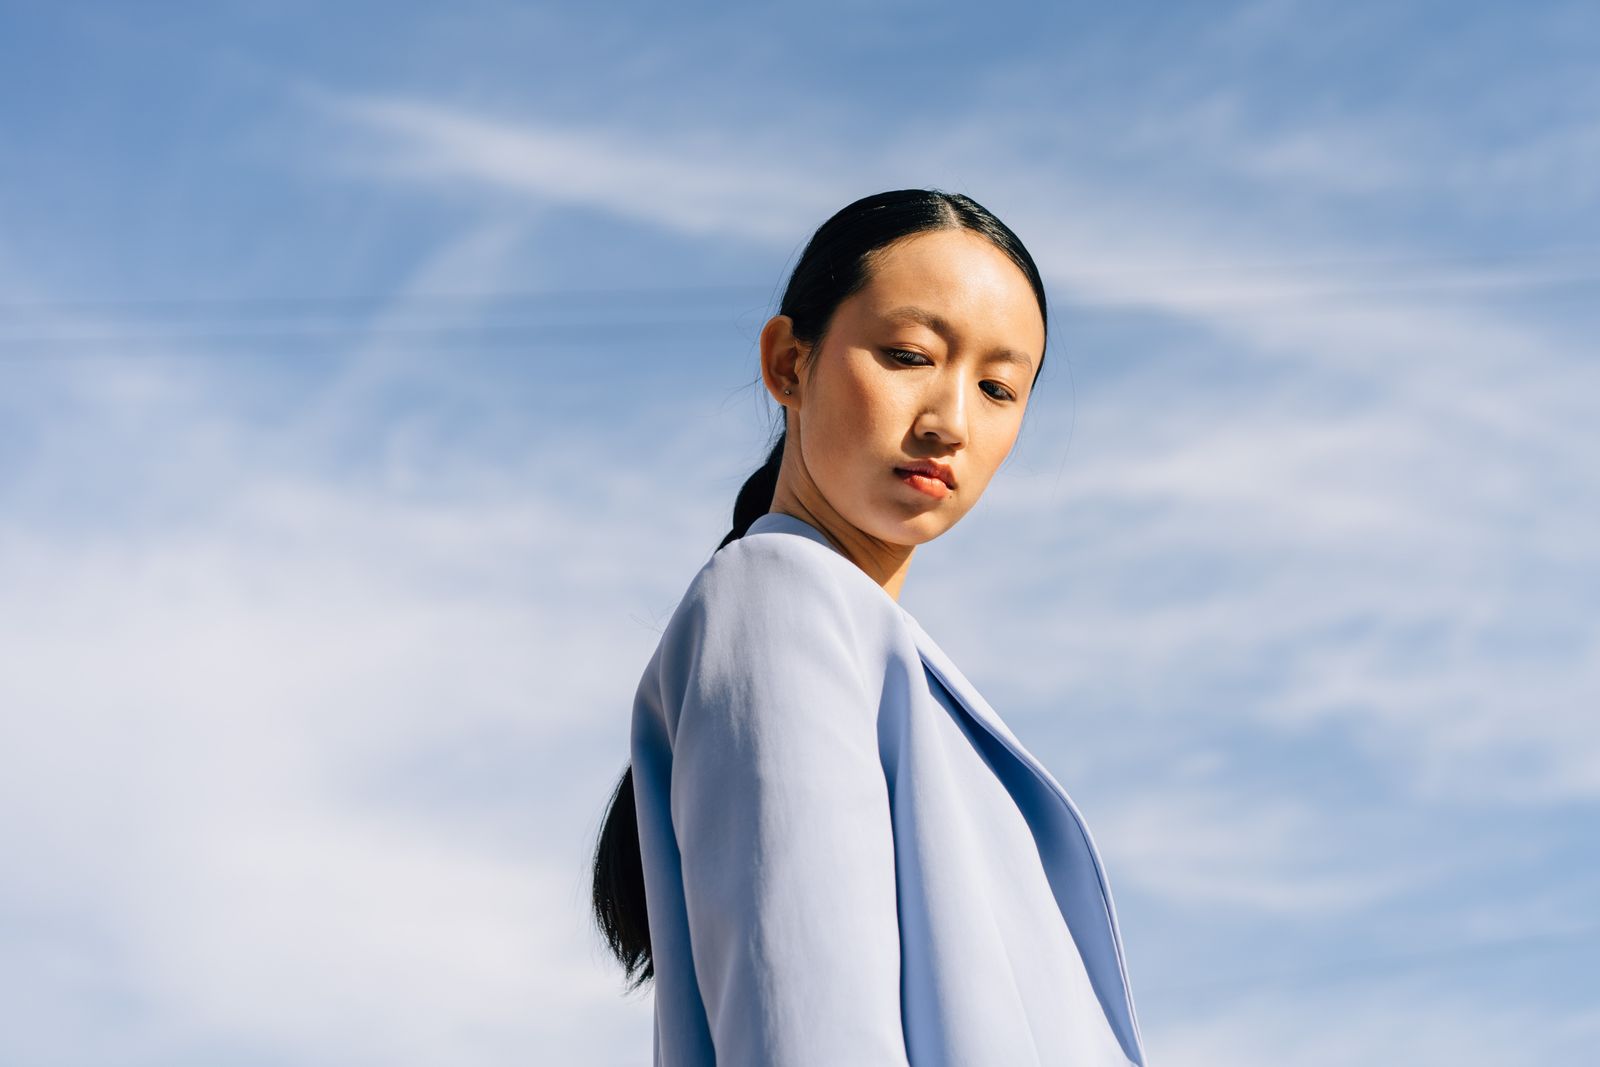
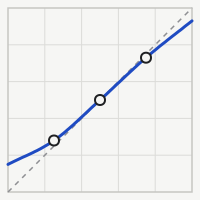
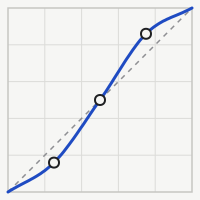
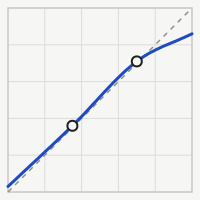
Light first: every tool below is drawn on the same strip of tones, so you can see which part of the photo it moves. Then masks, looks and the right export size.
Tool
BlacksShadowsMidtonesHighlightsWhites
Plan
Shadow lift
Brings faces and detail out of the dark side of a backlit photo, without turning the sky grey.
Works on shadows
Free
Highlight recovery
Pulls detail back into bright skies, white shirts and window light, as far as the file allows.
Works on highlights and whites
Free
Tone curve
The whole curve: drag any point, or tap a step of the wedge to move only that band of tones.
Works on every tone
Free
Black point and haze
Sets where black begins and cuts the grey veil of a hazy, misty or rainy day.
Works on blacks
Free
Midtone colour
Warms or cools the middle tones, where skin sits, without tinting the shadows or the sky.
Works on midtones
Plus
Clipping warning
Shows in red the parts that are pure black or pure white, so you know what can still be saved.
Works on blacks and whites
Free
Free tools are free for ever. Plus tools come with the Plus and Studio plans.
Edit one part of the photo
Masks find the person, the sky or the background for you. Every tool and look then works inside the mask only (Plus).
Subject
The person or animal in front: face, hair and clothes, with the edges kept fine.
about 1 s
Sky
Every part of the sky, including the gaps between leaves and buildings.
about 1 s
Background
Everything behind the subject, to darken it or soften it a little.
about 1 s
Brush
Paint it yourself with a soft or hard brush, then erase what you do not want.
by hand
Times on a recent phone (sample). Masks are worked out on the device, not on a server.